


-
Get extra support and sun protection from the hood, or put it away when you don't need it
-
Protect your back and lengthen the fabric band with the removable lumbar support pad. Back carrying and don't want it? Petite and don't like the extra fabric? Simply stow it away
-
Position the padding exactly where you need it with perfect fit adjusters (PFAs). Adventure for hours with the right fit!
-
Tighten with ease with your child on your front, back, or hip using the 2-way under-arm strap adjusters
-
Get out the door fast- Store your phone, keys, and more in the magnetic waistband pocket
-
Carry your big kid your way. Try a front carry for a sleepy kiddo, or put them on your hip or back to see the world! Don't forget to try the cross-strap option, too
-
Grows with your big kid- Simple height and width panel adjustments let you use one carrier for years... If you can resist getting more colors and styles to play with!
Why would I want a soft structured carrier?
-
Don’t like long pieces of fabric hanging down
-
Want something super quick
-
Want something easy to learn and easy to pass between caregivers
-
Want something familiar and don’t want to learn how to tie
-
Need customization of fit due to injuries or sensitivities. A long woven wrap would be a better choice for you
First, adjust your carrier's panel height and width.
Adjust the height by using the pull tabs on the panel.
Adjust the width by using the Velcro adjuster inside the waistband.
You can leave your hood on, or you can use the snaps to remove it!
Once you're adjusted, put your child in the carrier
Front Carry:
- Buckle the waistband with the velcro adjustment side facing you and the panel in front. Be sure to put the buckle through the elastic safety band before closing. This provides extra fall protection for your child.
- Place your child into the panel, facing you. Center them in the panel, then lift the panel up over your child's back. To get the best fit, try to reduce slack in the panel by lifting the straps high in the air and gently bouncing your child into the panel. You want them to sit out in the panel, not on the waistband itself.
- Method A - If you can reach behind your back to clip the chest clip: Put your arms through the ruck straps. Reach behind you to buckle the chest clip. It's often easier to do this if you leave the straps loose, including the chest clip, before putting your child in the carrier. When buckled, use the webbing to tighten as is comfortable.
- Method B - Alternate H method, if you can't reach behind your back to clip the chest clip: Prior to putting your child in the carrier, unclip the arm straps so they hang loose, and buckle the chest clip. When your child is in the panel, lift the straps over your head. Your head will go through the top of the "H," above the chest buckle, which you've already clasped. Once the straps are behind you, buckle each arm strap on its respective side. Don't forget to put the buckle through the elastic safety band before buckling
- Method C - Cross-strap method: Prior to putting your child in the carrier, unclip the arm straps so they hang loose, and leave the chest clip unbuckled. With your child in the panel, lift the panel up over their back. One side at a time, lift the arm strap into the air above you, then pull firmly straight down your back. The reduces slack in the panel. Then, cross the strap behind your back to the opposite side and buckle the arm strap in. Do the same for the other strap. Don't forget to put the buckle through the safety elastic before buckling. In this method, you don't need to clip the chest clip
- Use the 2-way adjusters to tighten as needed
- Gently move your child's bottom out into the panel, instead of sitting on the waistband. Hold the waistband where the pocket is, and try to keep the pocket straight up and down. Tighten the waistband while holding here. It's easier to tighten if you are lifting your child's weight off of the waistband. Gentle bouncing can also help
- Check to make sure the waistband strap is parallel to the floor. Gently adjust waistband, child in panel, and anything else as needed
Back Carry:
Method 1:
Crossed arms
-Cross the arm of the shoulder you will bring your child over underneath the other arm. Use your hands to pin the top edge of the panel to your child in the position you want the carrier to be in when baby is up. So, if you want your child arms in, position the top of the panel and hold onto it at the top of your child's shoulder. For arms out, grab your child under the arms with the panel.
-Move your body into your child (as opposed to twisting your child to you). This will allow you to get your child up into the carrier without twisting the fabric.
Once your child is up:
-Hold tightly to the top of the carrier, pinning the straps with your chin or biting with your teeth. This takes practice!
-Pull the slack down with the bottom of the panel/waistband. Pulling it out can help! Stand up straight and allow gravity to help you. Buckle the waistband, making sure to use the elastic safety band
-Clip the chest clip
-Tighten the webbing as needed
-Gently move your child's bottom out into the panel, instead of sitting on the waistband. Hold the waistband where the pocket is, and try to keep the pocket straight up and down. Tighten the waistband while holding here. It's easier to tighten if you are lifting your child's weight off of the waistband. Gentle bouncing can also help
-Check to make sure the waistband strap is parallel to the floor. Gently adjust waistband, child in panel, and anything else as needed
Method 2:
Hip Scoot
-Buckle the waistband, making sure to use the elastic safety band. Position the panel on your hip on the side you would naturally carry your child. Typically this is slightly more forward on the hip
-Place your child in the panel. Center them in the panel
-When you're satisfied with you child's seat, use the opposite arm from where your child is sitting and put your arm through the arm strap. This is easier if the straps are a little looser prior to starting.
-Using momentum and the strap already on your opposite shoulder, scoot your child behind you. Use your other arm to support your child in the panel as they scoot
-Put your arm through the other strap. Clip the chest clip and adjust your child's position as needed
-Tighten the webbing as needed
-Gently move your child's bottom out into the panel, instead of sitting on the waistband. Hold the waistband where the pocket is, and try to keep the pocket straight up and down. Tighten the waistband while holding here. It's easier to tighten if you are lifting your child's weight off of the waistband. Gentle bouncing can also help
-Check to make sure the waistband strap is parallel to the floor. Gently adjust waistband, child in panel, and anything else as needed
Method 3:
Little Helper
-In this method, your child climbs onto your back to help!
-Buckle the waistband, putting the buckle through the safety elastic before buckling. Position the panel behind you
-Allow your child to climb onto your back. You can be silly with it! Big kids love to be helpers. Have them hang on at your neck
-Lift the panel up over your child's back, lifting high to remove slack. Let them settle in to the panel
-Put your arms through the straps and clip the chest clip. Adjust your child's position as needed
-Tighten the webbing as needed
-Gently move your child's bottom out into the panel, instead of sitting on the waistband. Hold the waistband where the pocket is, and try to keep the pocket straight up and down. Tighten the waistband while holding here. It's easier to tighten if you are lifting your child's weight off of the waistband. Gentle bouncing can also help
-Check to make sure the waistband strap is parallel to the floor. Gently adjust waistband, child in panel, and anything else as needed

Margin of error + or - 3cm/1.25"
Carrier dimensions:
Width at panel center: 37cm / 14.5"
Height at panel center: adjusts from 38-51cm / 15-20"
Width at base of panel: adjusts from 25-58cm / 9.75-22.75"
Plus size caregivers: Our baby backpack carriers fit most caregivers up to t-shirt size 4x/5x as a standard. The minimum length for these waistbands is 50" as a standard, with many measuring longer. If you need a longer length waistband, email us at contact@mama-roo.com with the length you need. We will special order your desired waist strap length at no extra charge!
Typical age range: 2.5 - 6yrs old
Typical child's clothing sizes: 2T - 6X/7
Maximum rated weight: 66lbs
Limited Edition
This special collection is here just for the season. When it's gone, it's gone, so don't wait!
Carousel of Colors is a lightweight fabric. It’s great for new baby wearers and young babies. Carousel of Colors feels very thin and smooth in hand. The stripes are helpful for practice tightening, which is a good thing with this much glide!
Design Description - Carousel of Colors features a rainbow of beautiful horizontal stripes with thin black accent stripes in between. This fun basic line print is a delight for the wearer and passerby. Enjoy!
Type of weave - Broken Twill
Material Weight - 220 gsm
Material Type - 100% Cotton
Wrap conversions start out as long woven baby wraps. That fabric is then cut and sewn into a different type of baby carrier. This could be a ring sling, onbuhimo, meh dai, or SSC. Why does it matter?
Long woven wraps are made to carry babies.They're woven in a way that's soft and supportive. They're also breathable. Many wraps are made of easy-care materials.
Designs are woven into the fabric. No screen printing that fades. It's the real deal, straight from the loom!
Carriers that aren't made of long woven wraps are often more stiff. SSC carriers are commonly made with canvas or even plastic. These materials may be durable, but they aren't as comfortable or flexible. There isn't much airflow through the fabric, which can lead to overheating. Patterns are pressed onto the fabric as opposed to being a part of it.
Wrap conversion carriers are as strong and long-lasting as non-wrap conversion carriers. But, they have many other benefits! For the ultimate in comfort for you and your child, a wrap conversion baby carrier is the way to go.
Exchanges:
Was it not quite right? No problem! We’ll provide you a prepaid return label. Send your order back within 30 calendar days of your order being shipped to you.
Once we receive your item, we’ll issue you a gift card. You can then use your gift card on the item of your choice!
Returns:
Email us if you need a return. Let us know who you are and why you’re returning. Returns must be back to us within 30 calendar days of your order being shipped to you. Your refund will be issued to you for the product you returned minus standard shipping costs.
Read the whole return policy here
If you need your order by a specific date, let us know! Please leave the date you need it in the order notes during checkout.
Shipping is free on orders over $200 to US addresses.
Shipping is a flat rate of $12.99 for orders less than $200.
Shipping rates to Canada are calculated based on address.
Most items ship within 2-3 business days. We start processing immediately and cannot modify or cancel orders once they are placed.
We ship orders on Tuesdays and Thursdays from North Carolina.
Items marked as a pre-order are expected to ship within 4-6 weeks. Please reach out before ordering with any questions.
Need express shipping? Message us via chat or email us as contact@mama-roo.com, and we will do what we can to accommodate you.
You can find the whole shipping policy here
*NEW* *LE* Lenny Preschool Carrier, Carousel of Colors
- Unit price
- / per
At Mama & Roo's safety is our first priority
our guarantee
Secure Payment
Certified safe to US and EU standards
Vegan
Ways to carry your babe
Front Carry
Back Carry
Hip Carry
Adding product to your cart
-
Get extra support and sun protection from the hood, or put it away when you don't need it
-
Protect your back and lengthen the fabric band with the removable lumbar support pad. Back carrying and don't want it? Petite and don't like the extra fabric? Simply stow it away
-
Position the padding exactly where you need it with perfect fit adjusters (PFAs). Adventure for hours with the right fit!
-
Tighten with ease with your child on your front, back, or hip using the 2-way under-arm strap adjusters
-
Get out the door fast- Store your phone, keys, and more in the magnetic waistband pocket
-
Carry your big kid your way. Try a front carry for a sleepy kiddo, or put them on your hip or back to see the world! Don't forget to try the cross-strap option, too
-
Grows with your big kid- Simple height and width panel adjustments let you use one carrier for years... If you can resist getting more colors and styles to play with!
Why would I want a soft structured carrier?
-
Don’t like long pieces of fabric hanging down
-
Want something super quick
-
Want something easy to learn and easy to pass between caregivers
-
Want something familiar and don’t want to learn how to tie
-
Need customization of fit due to injuries or sensitivities. A long woven wrap would be a better choice for you
First, adjust your carrier's panel height and width.
Adjust the height by using the pull tabs on the panel.
Adjust the width by using the Velcro adjuster inside the waistband.
You can leave your hood on, or you can use the snaps to remove it!
Once you're adjusted, put your child in the carrier
Front Carry:
- Buckle the waistband with the velcro adjustment side facing you and the panel in front. Be sure to put the buckle through the elastic safety band before closing. This provides extra fall protection for your child.
- Place your child into the panel, facing you. Center them in the panel, then lift the panel up over your child's back. To get the best fit, try to reduce slack in the panel by lifting the straps high in the air and gently bouncing your child into the panel. You want them to sit out in the panel, not on the waistband itself.
- Method A - If you can reach behind your back to clip the chest clip: Put your arms through the ruck straps. Reach behind you to buckle the chest clip. It's often easier to do this if you leave the straps loose, including the chest clip, before putting your child in the carrier. When buckled, use the webbing to tighten as is comfortable.
- Method B - Alternate H method, if you can't reach behind your back to clip the chest clip: Prior to putting your child in the carrier, unclip the arm straps so they hang loose, and buckle the chest clip. When your child is in the panel, lift the straps over your head. Your head will go through the top of the "H," above the chest buckle, which you've already clasped. Once the straps are behind you, buckle each arm strap on its respective side. Don't forget to put the buckle through the elastic safety band before buckling
- Method C - Cross-strap method: Prior to putting your child in the carrier, unclip the arm straps so they hang loose, and leave the chest clip unbuckled. With your child in the panel, lift the panel up over their back. One side at a time, lift the arm strap into the air above you, then pull firmly straight down your back. The reduces slack in the panel. Then, cross the strap behind your back to the opposite side and buckle the arm strap in. Do the same for the other strap. Don't forget to put the buckle through the safety elastic before buckling. In this method, you don't need to clip the chest clip
- Use the 2-way adjusters to tighten as needed
- Gently move your child's bottom out into the panel, instead of sitting on the waistband. Hold the waistband where the pocket is, and try to keep the pocket straight up and down. Tighten the waistband while holding here. It's easier to tighten if you are lifting your child's weight off of the waistband. Gentle bouncing can also help
- Check to make sure the waistband strap is parallel to the floor. Gently adjust waistband, child in panel, and anything else as needed
Back Carry:
Method 1:
Crossed arms
-Cross the arm of the shoulder you will bring your child over underneath the other arm. Use your hands to pin the top edge of the panel to your child in the position you want the carrier to be in when baby is up. So, if you want your child arms in, position the top of the panel and hold onto it at the top of your child's shoulder. For arms out, grab your child under the arms with the panel.
-Move your body into your child (as opposed to twisting your child to you). This will allow you to get your child up into the carrier without twisting the fabric.
Once your child is up:
-Hold tightly to the top of the carrier, pinning the straps with your chin or biting with your teeth. This takes practice!
-Pull the slack down with the bottom of the panel/waistband. Pulling it out can help! Stand up straight and allow gravity to help you. Buckle the waistband, making sure to use the elastic safety band
-Clip the chest clip
-Tighten the webbing as needed
-Gently move your child's bottom out into the panel, instead of sitting on the waistband. Hold the waistband where the pocket is, and try to keep the pocket straight up and down. Tighten the waistband while holding here. It's easier to tighten if you are lifting your child's weight off of the waistband. Gentle bouncing can also help
-Check to make sure the waistband strap is parallel to the floor. Gently adjust waistband, child in panel, and anything else as needed
Method 2:
Hip Scoot
-Buckle the waistband, making sure to use the elastic safety band. Position the panel on your hip on the side you would naturally carry your child. Typically this is slightly more forward on the hip
-Place your child in the panel. Center them in the panel
-When you're satisfied with you child's seat, use the opposite arm from where your child is sitting and put your arm through the arm strap. This is easier if the straps are a little looser prior to starting.
-Using momentum and the strap already on your opposite shoulder, scoot your child behind you. Use your other arm to support your child in the panel as they scoot
-Put your arm through the other strap. Clip the chest clip and adjust your child's position as needed
-Tighten the webbing as needed
-Gently move your child's bottom out into the panel, instead of sitting on the waistband. Hold the waistband where the pocket is, and try to keep the pocket straight up and down. Tighten the waistband while holding here. It's easier to tighten if you are lifting your child's weight off of the waistband. Gentle bouncing can also help
-Check to make sure the waistband strap is parallel to the floor. Gently adjust waistband, child in panel, and anything else as needed
Method 3:
Little Helper
-In this method, your child climbs onto your back to help!
-Buckle the waistband, putting the buckle through the safety elastic before buckling. Position the panel behind you
-Allow your child to climb onto your back. You can be silly with it! Big kids love to be helpers. Have them hang on at your neck
-Lift the panel up over your child's back, lifting high to remove slack. Let them settle in to the panel
-Put your arms through the straps and clip the chest clip. Adjust your child's position as needed
-Tighten the webbing as needed
-Gently move your child's bottom out into the panel, instead of sitting on the waistband. Hold the waistband where the pocket is, and try to keep the pocket straight up and down. Tighten the waistband while holding here. It's easier to tighten if you are lifting your child's weight off of the waistband. Gentle bouncing can also help
-Check to make sure the waistband strap is parallel to the floor. Gently adjust waistband, child in panel, and anything else as needed
Margin of error + or - 3cm/1.25"
Carrier dimensions:
Width at panel center: 37cm / 14.5"
Height at panel center: adjusts from 38-51cm / 15-20"
Width at base of panel: adjusts from 25-58cm / 9.75-22.75"
Plus size caregivers: Our baby backpack carriers fit most caregivers up to t-shirt size 4x/5x as a standard. The minimum length for these waistbands is 50" as a standard, with many measuring longer. If you need a longer length waistband, email us at contact@mama-roo.com with the length you need. We will special order your desired waist strap length at no extra charge!
Typical age range: 2.5 - 6yrs old
Typical child's clothing sizes: 2T - 6X/7
Maximum rated weight: 66lbs
Limited Edition
This special collection is here just for the season. When it's gone, it's gone, so don't wait!
Carousel of Colors is a lightweight fabric. It’s great for new baby wearers and young babies. Carousel of Colors feels very thin and smooth in hand. The stripes are helpful for practice tightening, which is a good thing with this much glide!
Design Description - Carousel of Colors features a rainbow of beautiful horizontal stripes with thin black accent stripes in between. This fun basic line print is a delight for the wearer and passerby. Enjoy!
Type of weave - Broken Twill
Material Weight - 220 gsm
Material Type - 100% Cotton
Wrap conversions start out as long woven baby wraps. That fabric is then cut and sewn into a different type of baby carrier. This could be a ring sling, onbuhimo, meh dai, or SSC. Why does it matter?
Long woven wraps are made to carry babies.They're woven in a way that's soft and supportive. They're also breathable. Many wraps are made of easy-care materials.
Designs are woven into the fabric. No screen printing that fades. It's the real deal, straight from the loom!
Carriers that aren't made of long woven wraps are often more stiff. SSC carriers are commonly made with canvas or even plastic. These materials may be durable, but they aren't as comfortable or flexible. There isn't much airflow through the fabric, which can lead to overheating. Patterns are pressed onto the fabric as opposed to being a part of it.
Wrap conversion carriers are as strong and long-lasting as non-wrap conversion carriers. But, they have many other benefits! For the ultimate in comfort for you and your child, a wrap conversion baby carrier is the way to go.
Exchanges:
Was it not quite right? No problem! We’ll provide you a prepaid return label. Send your order back within 30 calendar days of your order being shipped to you.
Once we receive your item, we’ll issue you a gift card. You can then use your gift card on the item of your choice!
Returns:
Email us if you need a return. Let us know who you are and why you’re returning. Returns must be back to us within 30 calendar days of your order being shipped to you. Your refund will be issued to you for the product you returned minus standard shipping costs.
Read the whole return policy here
If you need your order by a specific date, let us know! Please leave the date you need it in the order notes during checkout.
Shipping is free on orders over $200 to US addresses.
Shipping is a flat rate of $12.99 for orders less than $200.
Shipping rates to Canada are calculated based on address.
Most items ship within 2-3 business days. We start processing immediately and cannot modify or cancel orders once they are placed.
We ship orders on Tuesdays and Thursdays from North Carolina.
Items marked as a pre-order are expected to ship within 4-6 weeks. Please reach out before ordering with any questions.
Need express shipping? Message us via chat or email us as contact@mama-roo.com, and we will do what we can to accommodate you.
You can find the whole shipping policy here
Added Features
removable Hood
Get extra support and sun protection
Lumbar support
A great way to support your back while carrying baby for a long period of time. It's also removeable for those times you want to back carry and don't want to use it
2-Way tightening
The shoulder straps can be tightened by pulling one strap towards you, or pulling the other side of the strap away from you
Perfect fit adjusters
Often referred to simply as PFAs. Another adjustment to get the perfect fit for you and your big kid
Adjustable panel
The adjustable panel allows for you to use this carrier for years with your child
A convenient pocket to hold your keys, phone, and other small goodies you may need while out walking with your child
rated for 65lbs
Carry kids for longer than ever, with this carrier rated up to 65lbs!
tutorial Video
Watch how easy it is to back carry with the Preschool SSC!
tutorial Video
Watch how easy it is to back carry with the Preschool SSC!

Lenny Preschooler
Preschool and beyond
Use this carrier to carry your big babe! Check out the other styles

lenny-Light
Newborn through Toddler ssc
Check out the Lenny Light to get a SSC for your little babe!
Complete the look
Use this section to highlight different products within an image


Your product's name
$99.99- Unit price
- / per

Your product's name
$99.99- Unit price
- / per
Accessories


- Small
- Medium
- Large
- Extra Large


Blog posts
Your post's title
By Author
Your post's title
By Author
Reviews
Extra comfy and snug for preschoolers
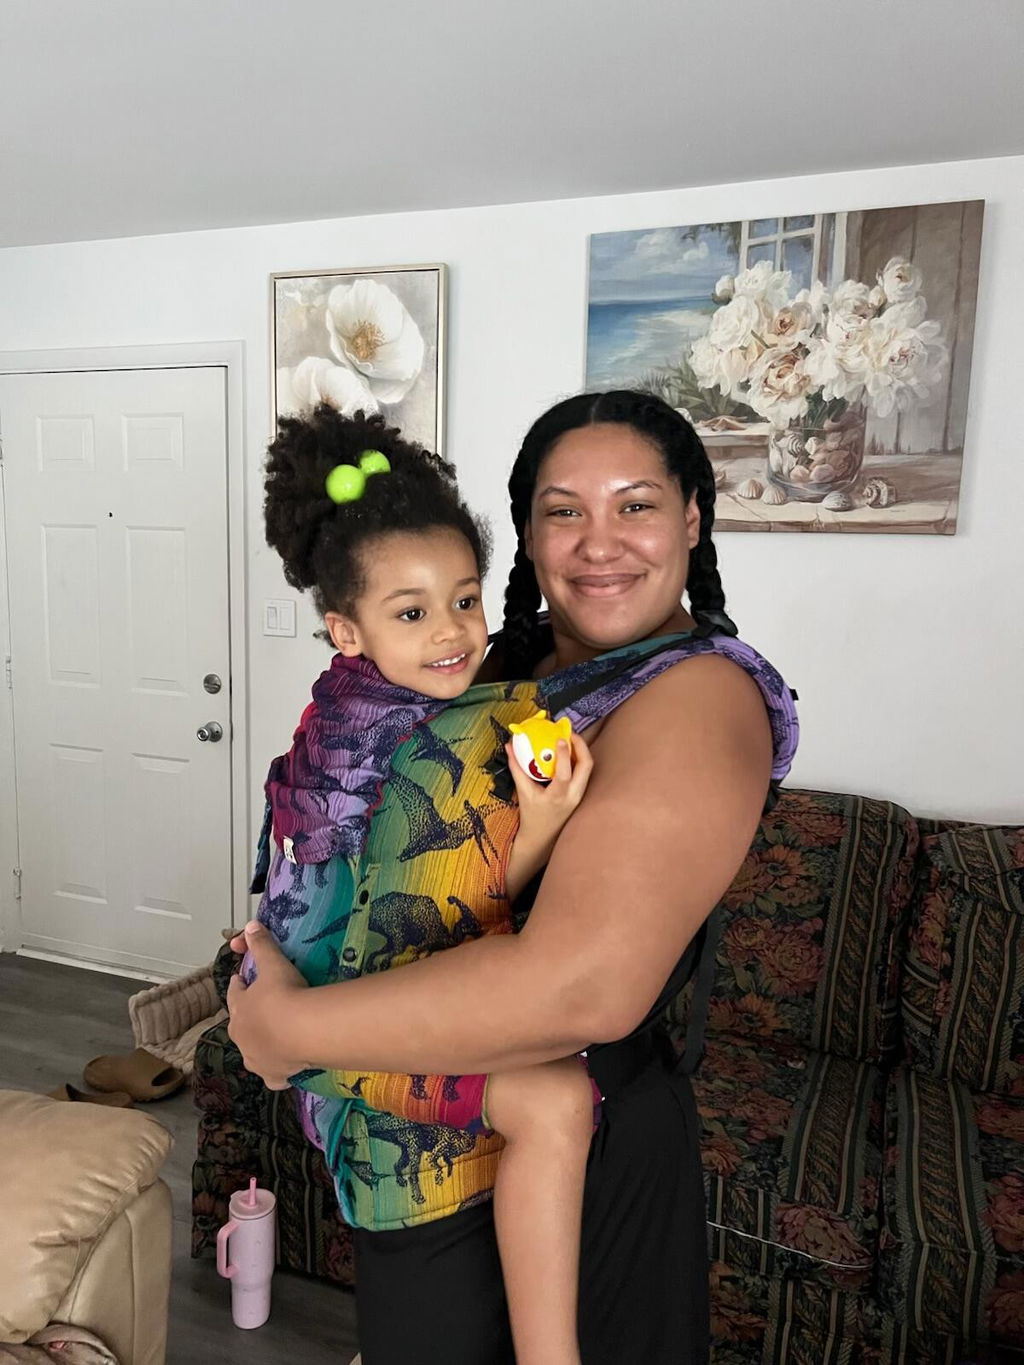
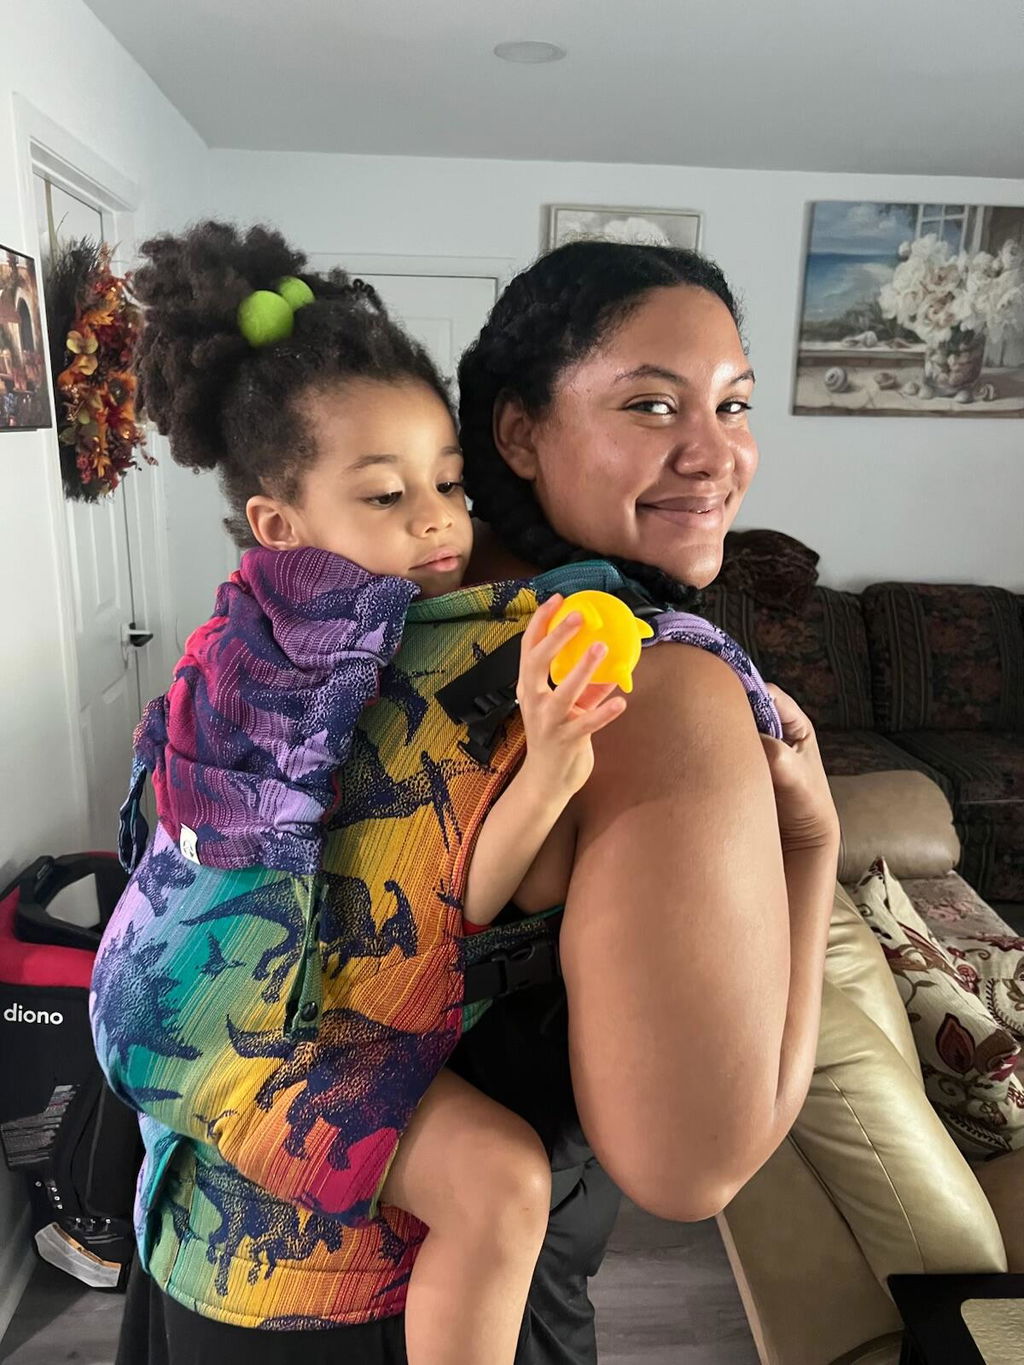
Best preschool carrier extra comfy!
I hate carriers. I mean, I’ve tried them all. I even have 4 kids…I’ve done this a few times. But I feel like I got my freedom back with this preschool carrier. I can participate in hikes and I’m not afraid anymore. I took her to Disney On Ice and we zoomed out of the Coliseum with no fear whatsoever of losing my kid, not to mention we were one of the first people out of that parking lot. Give them all of your money - don’t buy anything else. This carrier is comfortable and my kid loves being in it.
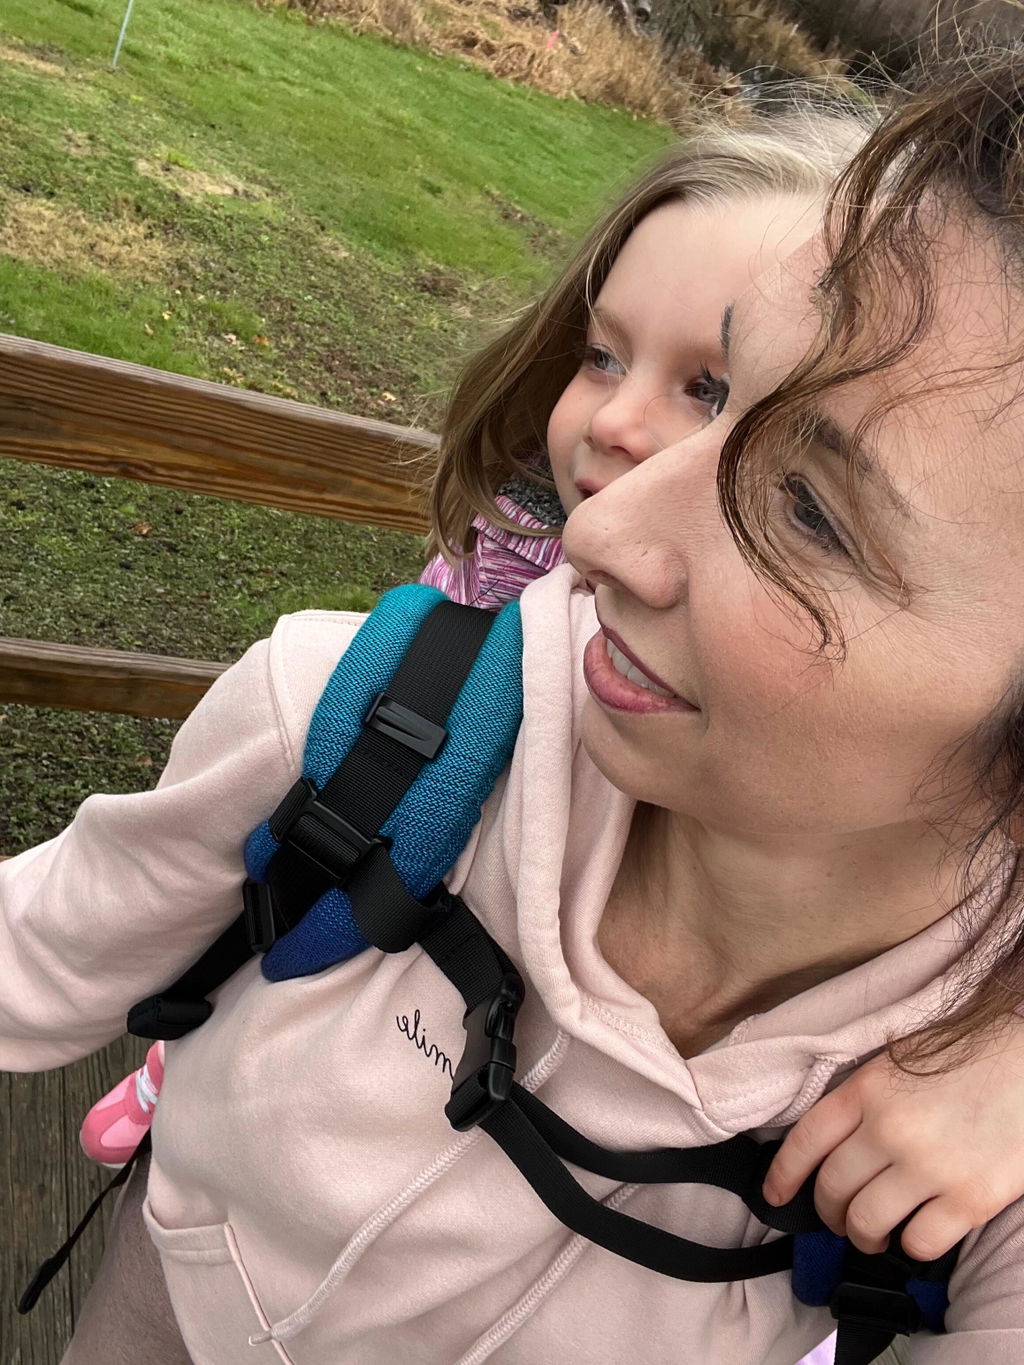
We bought this carrier because my 6 year old gets easily overstimulated in public settings and being held really helps soothe her. However, I cannot carry a 50 pound child on my hip for unforeseen amounts of time. This carrier saved us so much stress wile at the zoo and even hiking without any skin irritation!!

Amazing!!!
Preschool SSC


